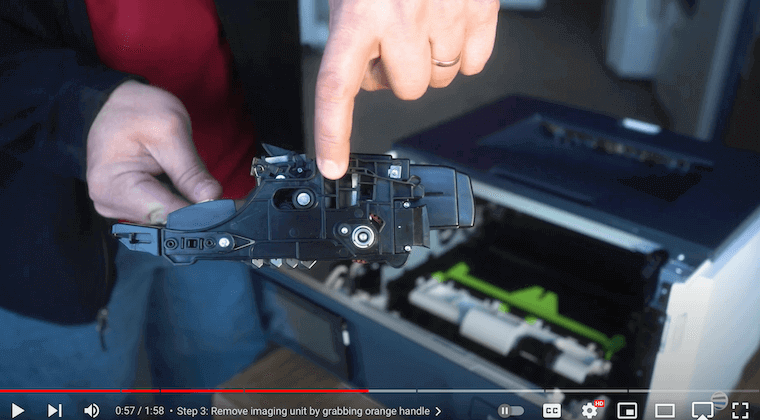
The imaging unit, also known as the imaging kit, image drum, or drum unit, is a replaceable supply that plays a crucial role in laser printers. It transfers toner and images/text to paper during the printing process.
If your drum is worn, you'll notice spots and/or lines on the pages, and the images will appear lighter than usual. This is a sign that you need a new drum.
At STPT, we aim to provide quality printing information that is easy to understand so you know where to find answers to your print questions. Throughout our 35+ years in the industry, we've serviced thousands of printers and want to share our knowledge with you.
If you're experiencing print quality issues or receiving notifications to replace the imaging unit on your Xerox B410 or B415 printer, don't worry. Our guide will show you how to do so step by step. Whether you're an experienced technician or a beginner, you'll find this tutorial easy to follow.
If you need to replace your toner, check out our toner replacement tutorials for the Xerox B410 and B415 printers.
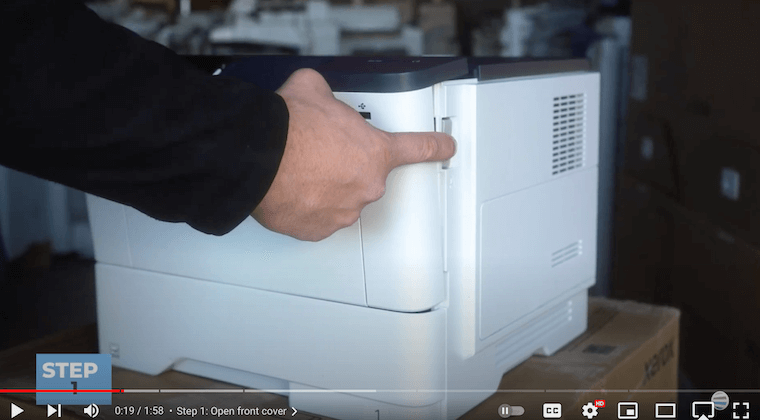
Step 1: Open the Front Cover
To begin, locate the front cover button on the right side of the printer. Press it to open the cover entirely, exposing the printer's inner components.
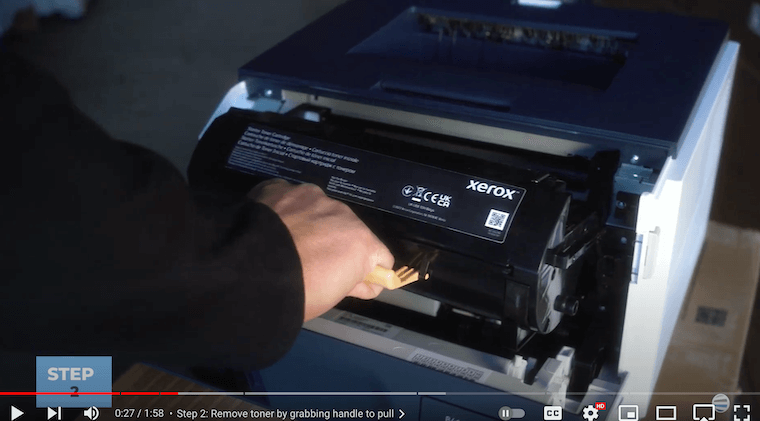
Step 2: Remove the Toner
Once the front cover is open, locate the toner cartridge. Grip the orange handle firmly and pull it straight out and away from the machine. Set the toner cartridge aside in a safe place.
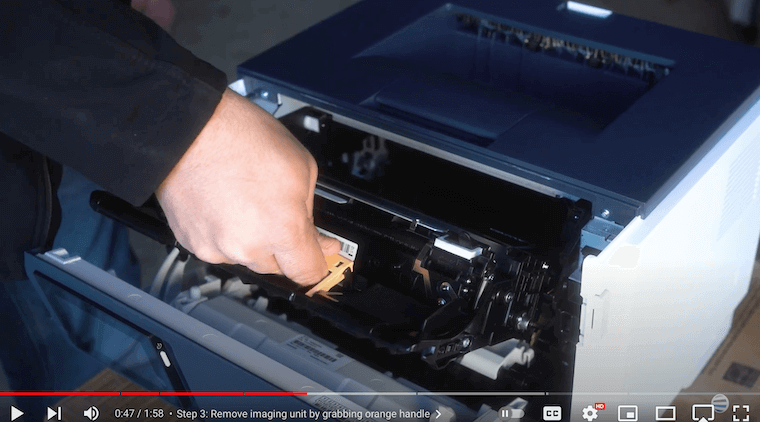
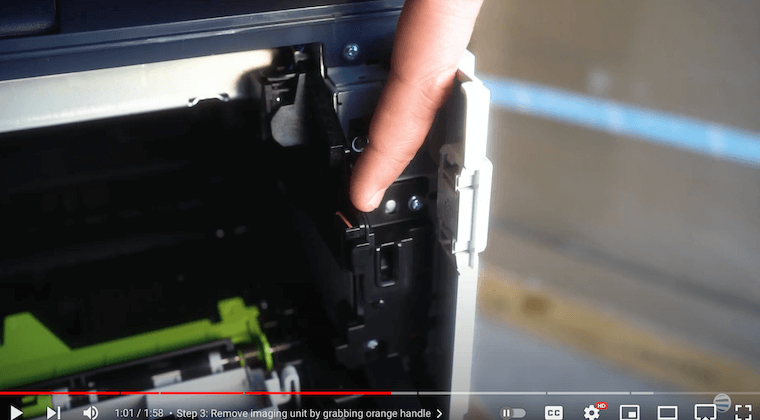
Step 3: Remove the Old Imaging Unit
Another orange handle on the imaging unit is directly beneath the toner cartridge. Reach under it, grab it securely, and pull it from the machine. Tilt the unit upwards to clear the front cover and slide it out completely.
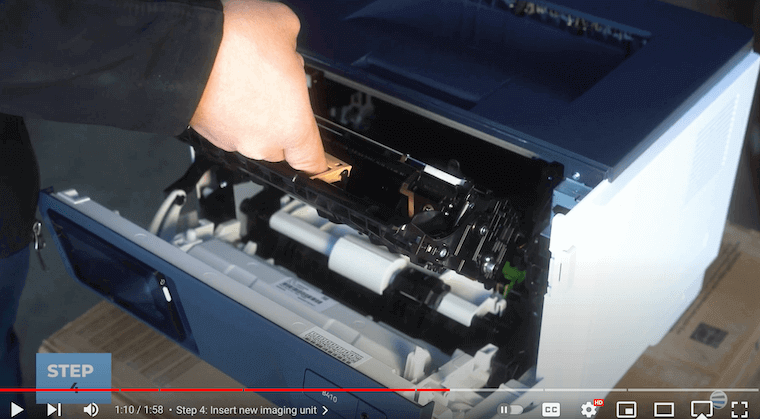
Step 4: Insert the New Imaging Unit
Now, take the new imaging unit and grip the orange handle. Align the slides (first image below) on both sides of the unit with the orange arrows inside the machine (second image below). Insert the unit partially into the slot, ensuring it aligns with the arrows, then tilt it down and slide it fully back into place (third image below). Be gentle during this process; the unit should slide in smoothly without much force.
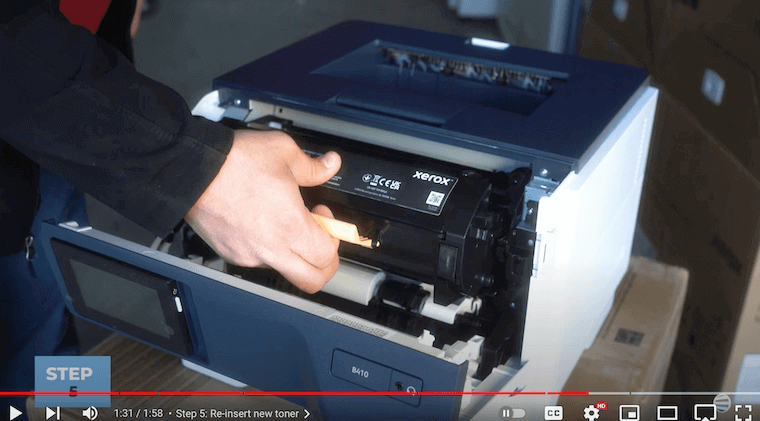
Step 5: Re-insert the Toner Cartridge
Retrieve the toner cartridge and align its slides with the orange arrows inside the machine, just like you did with the imaging unit. Once aligned, push the cartridge firmly into place until it clicks securely.
Step 6: Close the Front Cover
Finally, close the front cover of the printer until it latches securely. This ensures that all components are properly secured and ready for operation.
That's it! In a matter of minutes, you've successfully replaced the imaging unit on your Xerox B410/B415 printer. With these simple steps, you can maintain optimal print quality and keep your printer running smoothly.
Don't let a printer malfunction slow your progress on important projects. Save yourself the hassle of flipping through long manuals to replace a part. Follow our easy instructions for imaging unit replacement to stay on track and efficient.
Please remember to handle the components carefully and review the manufacturer's guidelines for proper maintenance procedures. If you want to discover more helpful how-to blogs, visit our Learning Center.
Need Another Quick Printer Fix?
Check out our YouTube channel, The Printing Workshop, for more printer maintenance videos. By subscribing, you’ll gain instant access to the latest printer tips and tutorials. Our service technicians will walk you through simple maintenance tasks for your Xerox machine.
If you encounter any difficulties during the process, please contact us. Our qualified technicians will be happy to help.
